My kids are outside all summer long so when it rains I feel like I need to be prepared. One of our favorite projects is a wave bottle. We’ve made them the last three to four summers. The first time I ever made one I was in elementary school with my Brownie troop at COSI Science Center in Columbus, Ohio. I have loved them ever since! Very simple to put together and hours of entertainment for your kids!
You will need:
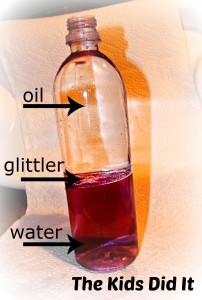
Empty water or juice bottle
Water
Clear oil (we always use baby oil)
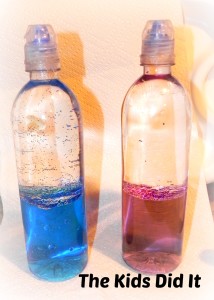
Liquid food coloring
Hot glue gun and glue
Glitter (optional)
Beads (optional)
What you need to do:
- Remove the label from your bottle. If it leaves any sticky residue we always clean it off with Goo Gone so that the bottle is totally clear. It does not matter what size bottle you use.
- Fill your bottle approximately half way up with water.
- Add a drop or two of food coloring and swirl your water around to mix it in. Add any glitter and/or small beads you would like.
- Fill the bottle the rest of the way up with the oil

- Run hot glue around the threads of your bottle and screw the cap on while it’s still hot. This will create a water tight seal for your bottle.
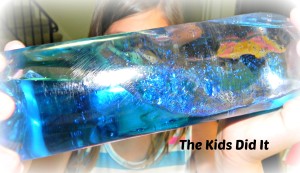
- Once the glue has cooled, hold your bottle on its side and gently tilt it back and forth, creating waves!
- Enjoy the fun!


I love this – they are so nice and not too hard, and not expensive!!!
This is such a cute craft to do with kids.
Addi recently posted..Top FREE Children’s Kindle eBooks
We made wave bottles this summer after our beach stay . We added some of the smaller shells we collected. A really fun little craft and so easy.
amber whitehead recently posted..#SharkWeek for #Kids