I always loved ice cream cone cupcakes when I was a kid. It was always a bit of a bummer that the cupcake didn’t actually look like a scoop of ice cream sitting on top of the cone. Well, I’ve discovered a way to remedy that! I’m not sure where I got this hint from. The first time I tried this was about three years ago, before I had even heard of Pinterest. The credit should probably go to one of the other moms on the playground or at story time. Either way, I still think it’s one of the best ideas ever!
Ice Cream Cone Cupcakes
Author:
Ingredients
- 1 box of any flavor cake mix (we used funfetti) and appropriate ingredients,
- 24 flat bottom cake ice cream cones,
- 24 muffin/cupcake paper liners,
- 1 tub of frosting (we used vanilla),
- sprinkles, and
- gumballs or gumdrops etc. (to look like a cherry on top).
Instructions
- Preheat your oven according to what the cake mix directions say.
- Line 2 muffin tins (this makes approx 24 cupcakes) with cupcake liners, it doesn’t matter what color or pattern you use because you won’t see them when you’re all finished.
- Mix up any cake mix that you like, following the directions on the box (or make your own favorite recipe, whatever).
- Fill the cupcake liners about 2/3 of the way up.
- Now, here’s the trick, put your ice cream cones open side down onto your cupcake batter (see pic).
- Bake as directed.
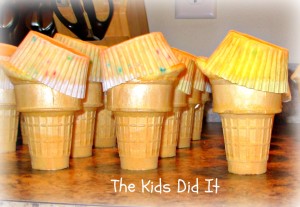
- Once finished baking, cool in the pan for 10 or so min and remove to a cooling rack very carefully. I used a fork to gently lift them out of the pan. DO NOT LIFT THEM UP BY THE CONE WHILE THEY ARE STILL WARM!!
- Once they are cool, I would recommend moving to where ever they will be displayed for serving.
- Remove the cupcake liner and stand up on end. Don’t worry if they are a little wonky, that will all disappear once you frost them!
- Go ahead and frost as normal.
- Roll them in sprinkles if you like and top with a gumball or gum drop.
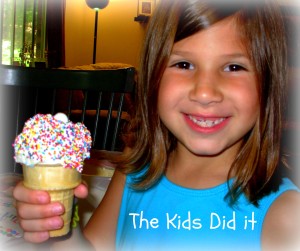
- Voila! Ice cream cone cupcakes that actually look like ice cream cones!
3.2.1226
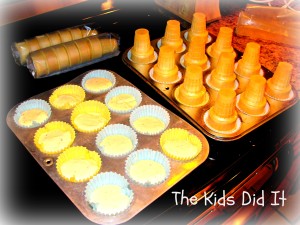
Fill the cupcake liners and place the ice cream cone on top.
Don’t worry if the cupcakes look a little lop-sided, once you frost them you won’t be able to tell!
super cute 🙂 i’ve always wondered how this worked!
Stephanie L. recently posted..One-Ingredient Healthy Banana “Ice Cream”